To effectively identify and repair roof leaks, inspect your roof regularly for signs of damage and address issues promptly with proper sealing techniques. Focus on common problem areas such as shingles, flashing, and vents.
Dealing with a leaky roof can be daunting, yet mastering the skills to spot and fix leaks is crucial for maintaining a healthy home. Savvy homeowners know that water stains on the ceiling or walls often signal a breach in the roof’s defense against the elements.
A thorough, periodic examination of the attic space and roof surface is vital, particularly after severe weather. Identifying the exact point of entry for water requires a keen eye; look for darkened spots on wood, mold, or damp insulation. These red flags could indicate compromised shingles, cracked flashing, or deteriorated seals around roof penetrations. Proper and prompt repair, utilizing the right materials and methods, will not only prevent further damage to the roof but also safeguard the interior of your home from the potential hazards of water ingress.
Roof Water Stains Identification
Spotting the early signs of water intrusion can be the difference between a simple repair and an extensive, costly one. Knowing how to identify roof leaks promptly gives homeowners the upper hand against potential damage. Let’s dive into the hallmarks of roof water stains and learn the pro techniques to pinpoint the areas of concern.
Inspect Ceiling For Discoloration
One of the most evident indicators of a roof leak is discoloration on your ceiling. Start by examining the ceilings throughout your home. Look for any unusual dark spots or yellowish stains, as these can be telltale signs of moisture seeping in from the roof. Remember, even the smallest stain can signify a larger underlying issue, so take note of all irregularities, no matter the size.
Note Any Peeling Paint Or Warped Materials
Water damage does not limit itself to stains; it often leads to peeling paint or warping of the ceiling and wall materials. As you survey your home, pay close attention to the condition of the paint and materials. Areas where the paint is bubbling, cracking or peeling should raise red flags. Similarly, any warping on the walls or ceilings, such as swelling in plaster or drywall, can indicate the presence of moisture.
Check Attic For Mold Or Moisture
Few places in the home are as prone to moisture buildup as the attic. It’s crucial to look for any signs of mold growth or accumulation of moisture. Keep an eye out for mold, which can present in various colors—from black to white to green—or any musty odors. Additionally, check for signs of moisture on the insulation and wood structures. Prolonged exposure to moisture can weaken these materials, leading to more severe damage over time.
Signs Of Damaged Roof Exteriors
Routine inspections of your roof are critical to preventing small issues from becoming costly repairs. Identifying damage to your roof’s exterior is the first step to repairing roof leaks. Every homeowner should be cognizant of these typical indicators of a compromised roof structure to intervene proactively. Pay particular attention to missing or damaged shingles, worn flashing, and areas where water may pool, as these are clear harbingers of potential leaks.
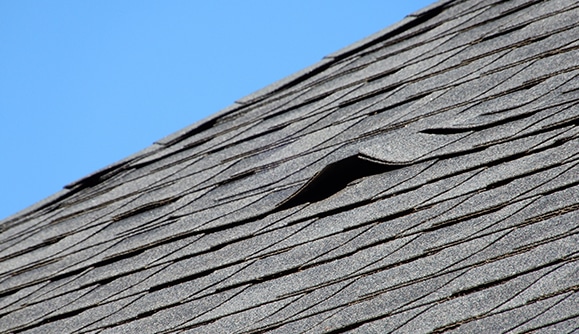
Look For Missing Or Damaged Shingles
Shingles are your roof’s armor. Missing or damaged shingles can lead to direct exposure of your roof’s underlayment to the elements, escalating the risk of leaks. Shingles can suffer from cracks, splits, or may become dislodged after severe weather conditions. Inspecting after major storms is particularly crucial. Look for:
- Shingles that are visibly cracked or curled.
- Pieces of roofing material in your gutters or yard.
- Granules accumulating in gutters, which signal shingle deterioration.
Identify Areas With Worn Flashing
Flashing—a material used to seal transitions where the roof meets chimneys, vents, and other junctions—is essential for waterproofing these susceptible points. Worn or damaged flashing is a common cause of leaks. Inspect these areas closely for:
- Signs of rust or corrosion on metal flashing.
- Caulking that has cracked or is peeling away.
- Any gaps or visible damage that may allow water intrusion.
Examine Roof For Pooling Water
Ponding water on your roof can lead to significant problems if not addressed swiftly. It is often indicative of poor drainage or a sagging roof deck. Prolonged ponding can degrade the roofing material and increase the likelihood of a leak. When surveying the roof, check for:
- Areas where water appears to collect rather than drain off.
- Debris that may obstruct proper water flow.
- Any visible sagging that could accumulate water.
Bear in mind that certain roof types, like flat roofs, are more prone to pooling, making regular checks even more essential.
External Leak Assessment Techniques
Discovering a roof leak can be daunting, but with the right approach, homeowners can identify and tackle the issue head-on. External leak assessment techniques are your first line of defense in pinpointing the exact location of a leak. By employing systematic and proven methods, residents can take the reins in preventing further damage. Here are essential strategies to help in identifying and repairing roof leaks.
Use Water Hose Test On Suspected Areas
The water hose test is one indispensable trick in any DIY enthusiast’s arsenal. Conducting this test involves a straightforward process:
- Enlist a partner to stay inside the house, directly under the roof area you suspect is leaking.
- Using a garden hose, begin by soaking one roof section at a time, allowing the water to run over the area for several minutes.
- Communicate continuously with your partner who will signal when water starts to drip inside, thereby identifying the vulnerable spot.
This method is particularly effective as it mimics natural rainfall but with the benefit of control and immediacy.
Conduct A Visual Inspection During Rain
Performing a visual inspection during actual rainfall can offer valuable insights. This hands-on technique lets you observe the following:
- The path water takes as it flows over your roof.
- Pooling areas that suggest inadequate drainage.
- Water infiltration points as they appear in real-time.
Remember to exercise caution; wet roofs pose a slip hazard. Always rely on secure footing and safety gear.
Check For Breaches Near Roof Protrusions
Roof protrusions are typical culprits for leaks due to their vulnerability to gaps and deterioration. Inspect these areas closely:
| Protrusion Type | Common Issues |
|---|---|
| Vents | Cracked or missing sealant |
| Chimneys | Worn flashing or broken mortar |
| Skylights | Improperly sealed joints |
Carefully examine the sealant, flashing, and adjacent shingles for any signs of damage. Timely intervention can prevent expensive repairs.
Indoor Leak Tracking Tactics
Dealing with a leaky roof can quickly escalate from a minor annoyance to a major crisis if not addressed promptly. Professional roofers often follow a systematic approach to locate the often-elusive source of water intrusion. By using a combination of detective skills and some elbow grease, homeowners can employ the same tactics used by the pros to track down roof leaks and prepare for repairs. The following methods will guide you through identifying the source of a roof leak from inside your home.
Trace Water Stains Back To Their Source
Water stains on your ceiling or walls are glaring signs that water has breached your roof. Begin by examining these stains closely. Your goal is to follow the path or trail that water takes, which often isn’t a straight line due to the way water spreads across roof decking and insulation. It’s essential to check during or immediately after heavy rain for the best chance to track the flow. Pay attention to the color and shape of the stains; darker spots may indicate a more significant issue, while circular patterns can help point you in the direction of the leak’s ingress.
Inspect Insulation For Dampness
Attic insulation is like a sponge that soaks up water from roof leaks, and over time, these areas of moisture can create significant problems. To inspect your insulation, look for any signs of wetness or clumping, as water will weigh down the insulation and cause it to lose its shape. Both fiberglass and cellulose insulation are prone to water damage, so don’t skip this step. If you locate damp insulation, it can be a direct indicator of the leak’s location above or nearby.
Probe For Soft Spots On The Roof Deck
The roof deck, or sheathing, is another vital area to inspect. Soft spots on the deck can be symptomatic of prolonged water exposure and potential wood rot. Probing these areas should be done with care to avoid causing further damage. Use a screwdriver or a small tool to gently press on the wood. If it feels soft, spongy, or easily penetrates, that’s a red flag signaling the need for repair. Mapping out these soft spots can help pinpoint the leak and provide a clearer scope of the repair needed.
Seamless Shingle Replacement
When your roof springs a leak, it’s often due to damaged or missing shingles. Identifying and replacing these shingles promptly can prevent water damage to your home. Let’s explore the steps to ensure a seamless shingle replacement that blends perfectly with your existing roof. It’s not just about patching up the problem; it’s about restoring your roof’s integrity and aesthetics.
Matching Shingles To The Existing Roof
Choosing the right shingles is crucial for a repair that’s as good as invisible. The goal is to find shingles that match the existing ones in color, shape, and material. Due to weathering and variations in dye lots, the original shingles on your roof may have a different appearance over time. Therefore, it’s important to:
- Seek out the same brand and model of shingle originally used, if available.
- Compare samples in natural lighting to ensure a close match.
- Consider shingles that are designed to match a wide range of colors if an exact match is not possible.
Safe Removal Of Damaged Shingles
Once you’ve got the perfect match, the next step is to safely remove the damaged shingles. This must be done with care to avoid further damage to the roofing structure. You’ll need the following tools:
- A roofing shovel or a flat pry bar.
- Work gloves and safety goggles for protection.
Gently lift the edges of the surrounding shingles and remove the nails with the pry bar. Slide out the damaged shingle and inspect the area underneath for additional damage before proceeding.
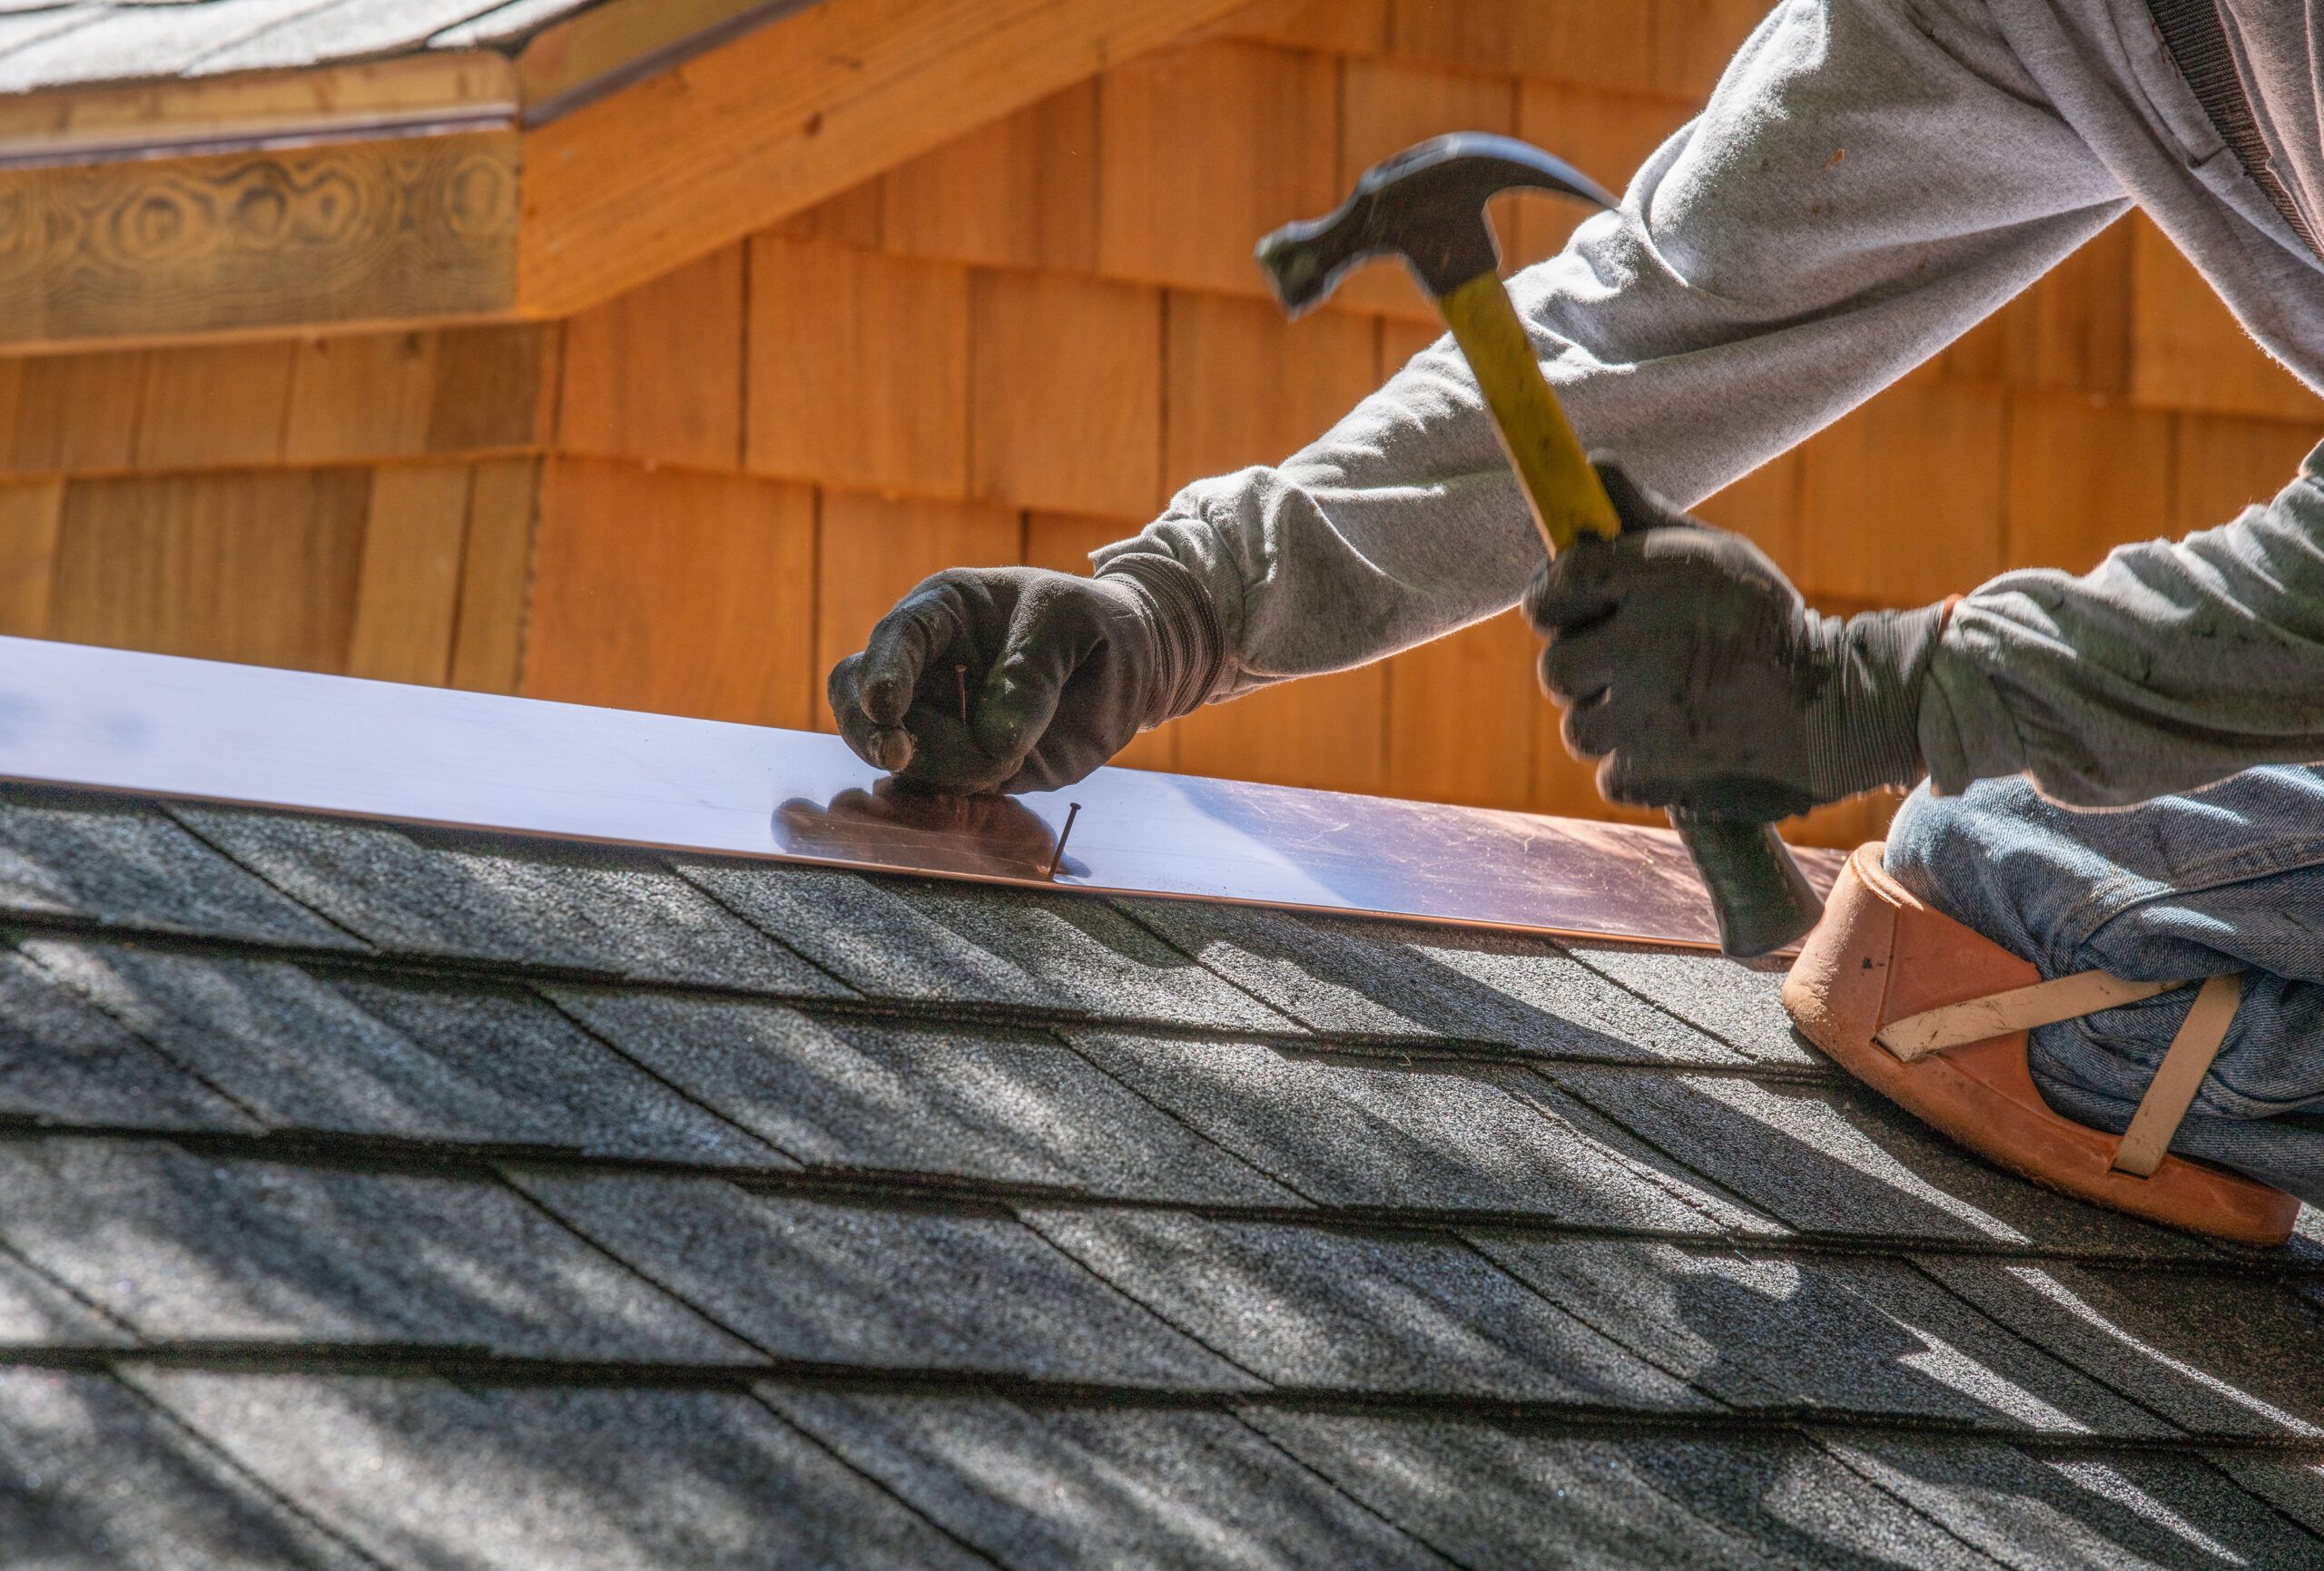
Proper Nailing Patterns And Sealant Application
With the damaged shingle removed, it’s time to install the new one. Correct nailing and sealant application ensure that the shingle stays in place and resists future leaks. Remember to follow these best practices:
- Position the new shingle precisely where the old one was, aligning with the surrounding shingles.
- Use galvanized roofing nails, and drive them in at the recommended spots, usually a set pattern from the manufacturer.
- Do not nail through the sealant strip or too close to the edge of the shingle.
- Apply roof sealant under the edge of each shingle tab where the nail heads are visible.
- Press down firmly to ensure a tight bond and cover any exposed nail heads with roof sealant.
Flashing And Sealant Fixes
Dealing with roof leaks often comes down to two critical elements: flashing and sealant. Properly treating these components can mean the difference between a minor repair and extensive water damage. Flashing serves as a water-resistant barrier strategically placed around objects that penetrate your roof, such as chimneys and vents, while sealant helps to lock in the flashing and shore up any gaps. If you’re facing a leaking roof, the likely culprits are old, cracked sealant or damaged flashing. Ready to tackle these issues? Let’s explore how to strip old caulking, fit new flashing, and apply fresh sealant to create a watertight seal like a pro.
Strip Old Caulking And Sealant
Finding the breach in your roof’s armor often leads to old, weathered sealant. Here are the steps to effectively remove it:
- Inspect the area around chimneys, vents, and roof edges for peeling or cracked sealant.
- Use a putty knife or a caulk removal tool to carefully lift and strip away the old material.
- Clean the surface thoroughly to ensure new sealant adheres properly. A mix of water and mild detergent usually does the trick.
Cut And Mold New Flashing To Fit
Once the old sealant is out of the way, it’s time to assess and replace compromised flashing:
- Measure the existing flashing or the space it was protecting.
- Cut the new flashing material to size using tin snips or similar cutting tools.
- Mold the flashing to fit snugly around the penetrations or along the roof’s intersections, ensuring it lays flat against all surfaces.
Apply New Sealant For Watertight Seal
Applying new sealant is the final step to fortify your roof against the elements. Follow these guidelines:
- Choose a high-quality roofing sealant or caulk designed for outdoor exposure and suitable for your roofing material.
- Apply the sealant generously along the edges of the flashing, and use a caulking gun for consistency and precision.
- Smooth the sealant with a putty knife or your finger to ensure a flawless, watertight seal. Wear gloves to protect your hands.
Ensuring a proper seal not only prevents leaks but also protects your home from potential mold and structural damage. With your new flashing and sealant in place, your roof should be ready to face the next storm with confidence.
Pro-level Patching For Flat Roofs
When grappling with the challenges of roof maintenance, one key skill set separates the amateurs from the seasoned pros: the ability to efficiently identify and remedy leaks in flat roofs. Pro-level patching does not just temporarily cover up the problem; it provides a durable solution that prevents future damage. Mastering this technique ensures that a flat roof remains waterproof and in top condition for years to come. Let’s dive into the steps necessary to repair flat roofs like a true professional.
Clean And Prepare The Repair Area
Cleaning is paramount — a flawless repair begins with an immaculate surface. To replicate a pro’s approach:
- Remove debris: Sweep or brush off all dirt, leaves, and loose material.
- Eradicate rust and old patching: For metal surfaces, use a wire brush to eliminate rust. Scrape away any blistered patches.
- Cleanse thoroughly: Apply a robust cleaner that won’t degrade the roofing material. Rinse and let dry completely.
Select Compatible Patching Materials
Selecting the correct patching materials is crucial for a seamless repair. Keep these tips in mind:
| Roof Material | Compatible Patch |
|---|---|
| EPDM Rubber | EPDM Rubber Patch Kit |
| TPO | TPO Membrane and Sealant |
| Asphalt | Modified Bitumen or Asphalt-based Cement |
Always opt for materials that match the existing roof type for the best adhesion and longevity.
Ensure Smooth, Overlapping Application
Executing a smooth, overlapping application is paramount to prevent water ingress. Follow these steps:
- Cut to size: Measure and trim your patching material several inches larger than the damaged area.
- Apply adhesive: Spread a layer of appropriate adhesive over the repair area and onto the patch, following the product’s instructions.
Press firmly onto the damaged area, starting from the center and smoothing outward. This action removes air bubbles and ensures solid contact. Overlap the patch onto the existing material, roofing professionals recommend at least 2-3 inches of overlap for a watertight seal. Weight it down or use a roller to ensure full adhesion.
Regular Maintenance Tips
Preventing roof leaks starts with proactive care. Effective maintenance can extend the life of your roof and prevent minor issues from escalating into costly problems. Here are straightforward strategies to keep your roof in top-notch condition:
Keep Gutters And Downspouts Clear
Clogged gutters are more than a minor inconvenience; they can lead to serious water damage if left unchecked. A routine cleanup can prevent water from pooling and in turn, protect the structural integrity of your roof. Here’s an easy checklist:
- Regularly remove leaves and debris.
- Check for granules from shingles as these indicate wear.
- Ensure proper water flow and fix any leaks.
- Consider installing gutter guards for added protection.
Trim Overhanging Tree Branches
Nature can be a roof’s nemesis. Overhanging tree branches can scrape against roofing materials and damage them during high winds. They also drop leaves that contribute to gutter blockages. Take these steps to prevent damage:
- Identify branches that pose a risk to your roof’s surface.
- Use proper tools or hire a professional to trim them safely.
- Regularly inspect the roof for fallen branches, especially after severe weather.
Schedule Annual Professional Inspections
An expert eye can catch problems you might miss. Annual inspections by a pro can save you money in the long run by identifying potential issues early on. A professional inspection typically includes:
| Inspection Area | Details to Check |
|---|---|
| Roof Surface | Missing, damaged, or aging shingles/tiles |
| Chimneys and Skylights | Integrity of seals and flashing |
| Gutters and Downspouts | Functionality and blockages |
| Attic Spaces | Signs of water penetration or mold |
Addressing the issues identified during an inspection promptly can make all the difference in preventing roof leaks.
Longevity Measures For Roofing
Maintaining a durable roof requires more than quick fixes; it calls for strategic planning and quality implementations. Effective longevity measures can help extend your roof’s lifespan, ensuring it remains leakproof for years to come. Whether you’re dealing with a minor drip or a major breach, adopting a professional approach to repair and maintenance can safeguard your home against the ravages of time and weather.
Choose Quality Materials For Repairs
A staple of lasting roof repairs is the use of superior materials. The urge to save money with cheaper options can be tempting, but investing in high-grade roofing materials pays off in the long run. The key is to focus on longevity; materials with a proven track record for durability and resistance to the elements.
- Asphalt shingles: Known for affordability and reliability.
- Metal roofing: Excellent for longevity, often lasting upwards of 50 years.
- Slate tiles: Almost impervious to degradation, with a lifespan that can exceed 100 years.
Consider Weatherproofing Treatments
Another critical step in preserving a roof’s integrity is weatherproofing. Expert weatherproofing treatments shield your roof from moisture, UV rays, and other harsh environmental factors. Consider these protective solutions:
- Sealants: A simple way to seal cracks and prevent water ingress.
- Reflective coatings: Reduces thermal shock and extends the life of the roofing material.
- Water-repellent barriers: Adds an extra layer of moisture protection.
Adopt Proactive Leak Prevention Strategies
Preventative maintenance is the cornerstone of a robust, leak-free roof. Stay ahead of potential issues with these proactive measures:
| Strategy | Description |
|---|---|
| Regular Inspections | Identify and remedy small issues before they escalate. |
| Gutter Maintenance | Ensure gutters are free of debris to prevent water buildup. |
| Trim Overhanging Branches | Minimize roof damage from falling limbs and debris. |
By integrating these strategies into your routine, you stand the best chance of maintaining a watertight roof that stands the test of time.
Credit: theroofguys.com
Frequently Asked Questions On How To Identify And Repair Roof Leaks Like A Pro
Can Rain Cause Roof Leaks?
Yes, rain can cause roof leaks, especially if the roof is damaged or deteriorated. Over time, rainwater can exploit any vulnerability in shingles, flashing, or seals leading to leaks.
How Do You Spot Roof Leak Signs?
Look for water stains on ceilings, walls, or peeling paint. Also check for mold, damp odors, or spots on exterior walls. These are typical indicators of roof leaks.
What Are Common Roof Leak Locations?
Common leak locations include areas around chimneys, vents, skylights, and where two roof slopes meet. Also, damaged or missing shingles and compromised flashing are frequent culprits.
How Often Should Roofs Be Inspected?
Roofs should be inspected at least once a year or after severe weather events. Regular inspections help identify potential leak sources before they lead to bigger issues.
Conclusion
With the right approach, fixing roof leaks can become a manageable task. Always prioritize safety and accuracy over speed. Remember, early detection and proper repair can save you from costly damage. Keep this guide handy, and you’ll tackle leaks with the confidence of a seasoned professional.
Protect your home; start inspecting your roof today.